

Homefaker Designer Chalk Paint Recipe
3 cups flat latex paint (any color)
1 cup Sodium Bicarbonate
1/2 cup warm water
~mix until smooth, and paint.
*********************************************************
DIY Chalk Paint
4 cups latex paint
1 cup plaster of paris ,baking soda,OR grout mix
1 cup warm water
~mix until smooth, and paint.
After paint has dried overnight, you can distress with some fine sandpaper.Then if you want an antique look use a gel stain in a walnut color brush on, and wipe off with a soft cloth. Last step is to get a furniture wax. Brush on an ample amount then wipe most of it off. IF YOU LEAVE TOO MUCH ON IT WILL BE STICKY. Let the wax dry overnight, and buff with a lint free soft cloth the next day.
The antique stain I used was a mocha glaze. Any dark brown glaze will do.Do not use a stain, it will absorb in the paint and you will not be able to blend or remove.( Learned the hard way argghhh..)
This is the wax...http://www.amazon.com/Minwax-78500-Regular-Finishing-1-Pound/dp/B000LNOZAW/ref=sr_1_6?ie=UTF8&qid=1358132504&sr=8-6&keywords=furniture+wax
You can also use a satin polyurethane clear coat, but not with the wax. One or the other.
************************************************************


Homefaker Crackle Finish
Apply a coat of paint that you want your cracks to be. Darker colors work best.
Let dry completely
Apply a liberal layer of school glue using a brush. The more glue the bigger your cracks will be.I use the cheap dollar store glue cause it's thinner making it easier to work with.
Do not let the glue dry .Glue must be still tacky and wet when you apply your top coat of paint.
Apply your top paint color . Brush in same direction not overlapping brush strokes for a more realistic look.
Apply your top paint color . Brush in same direction not overlapping brush strokes for a more realistic look.
Let the paint dry, and in hours you should have a beautiful crackle finish.
***************************************
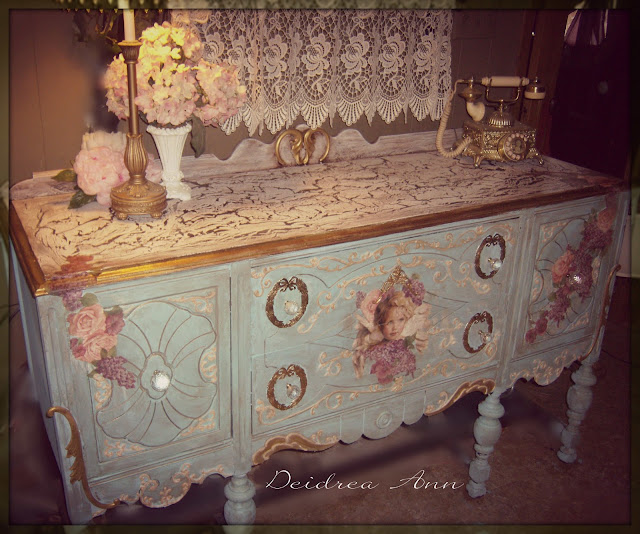

This beauty will be in my Shasta camper..


